
Paint-to-Match Hidden Vent Installation Planning for Walls and Ceilings
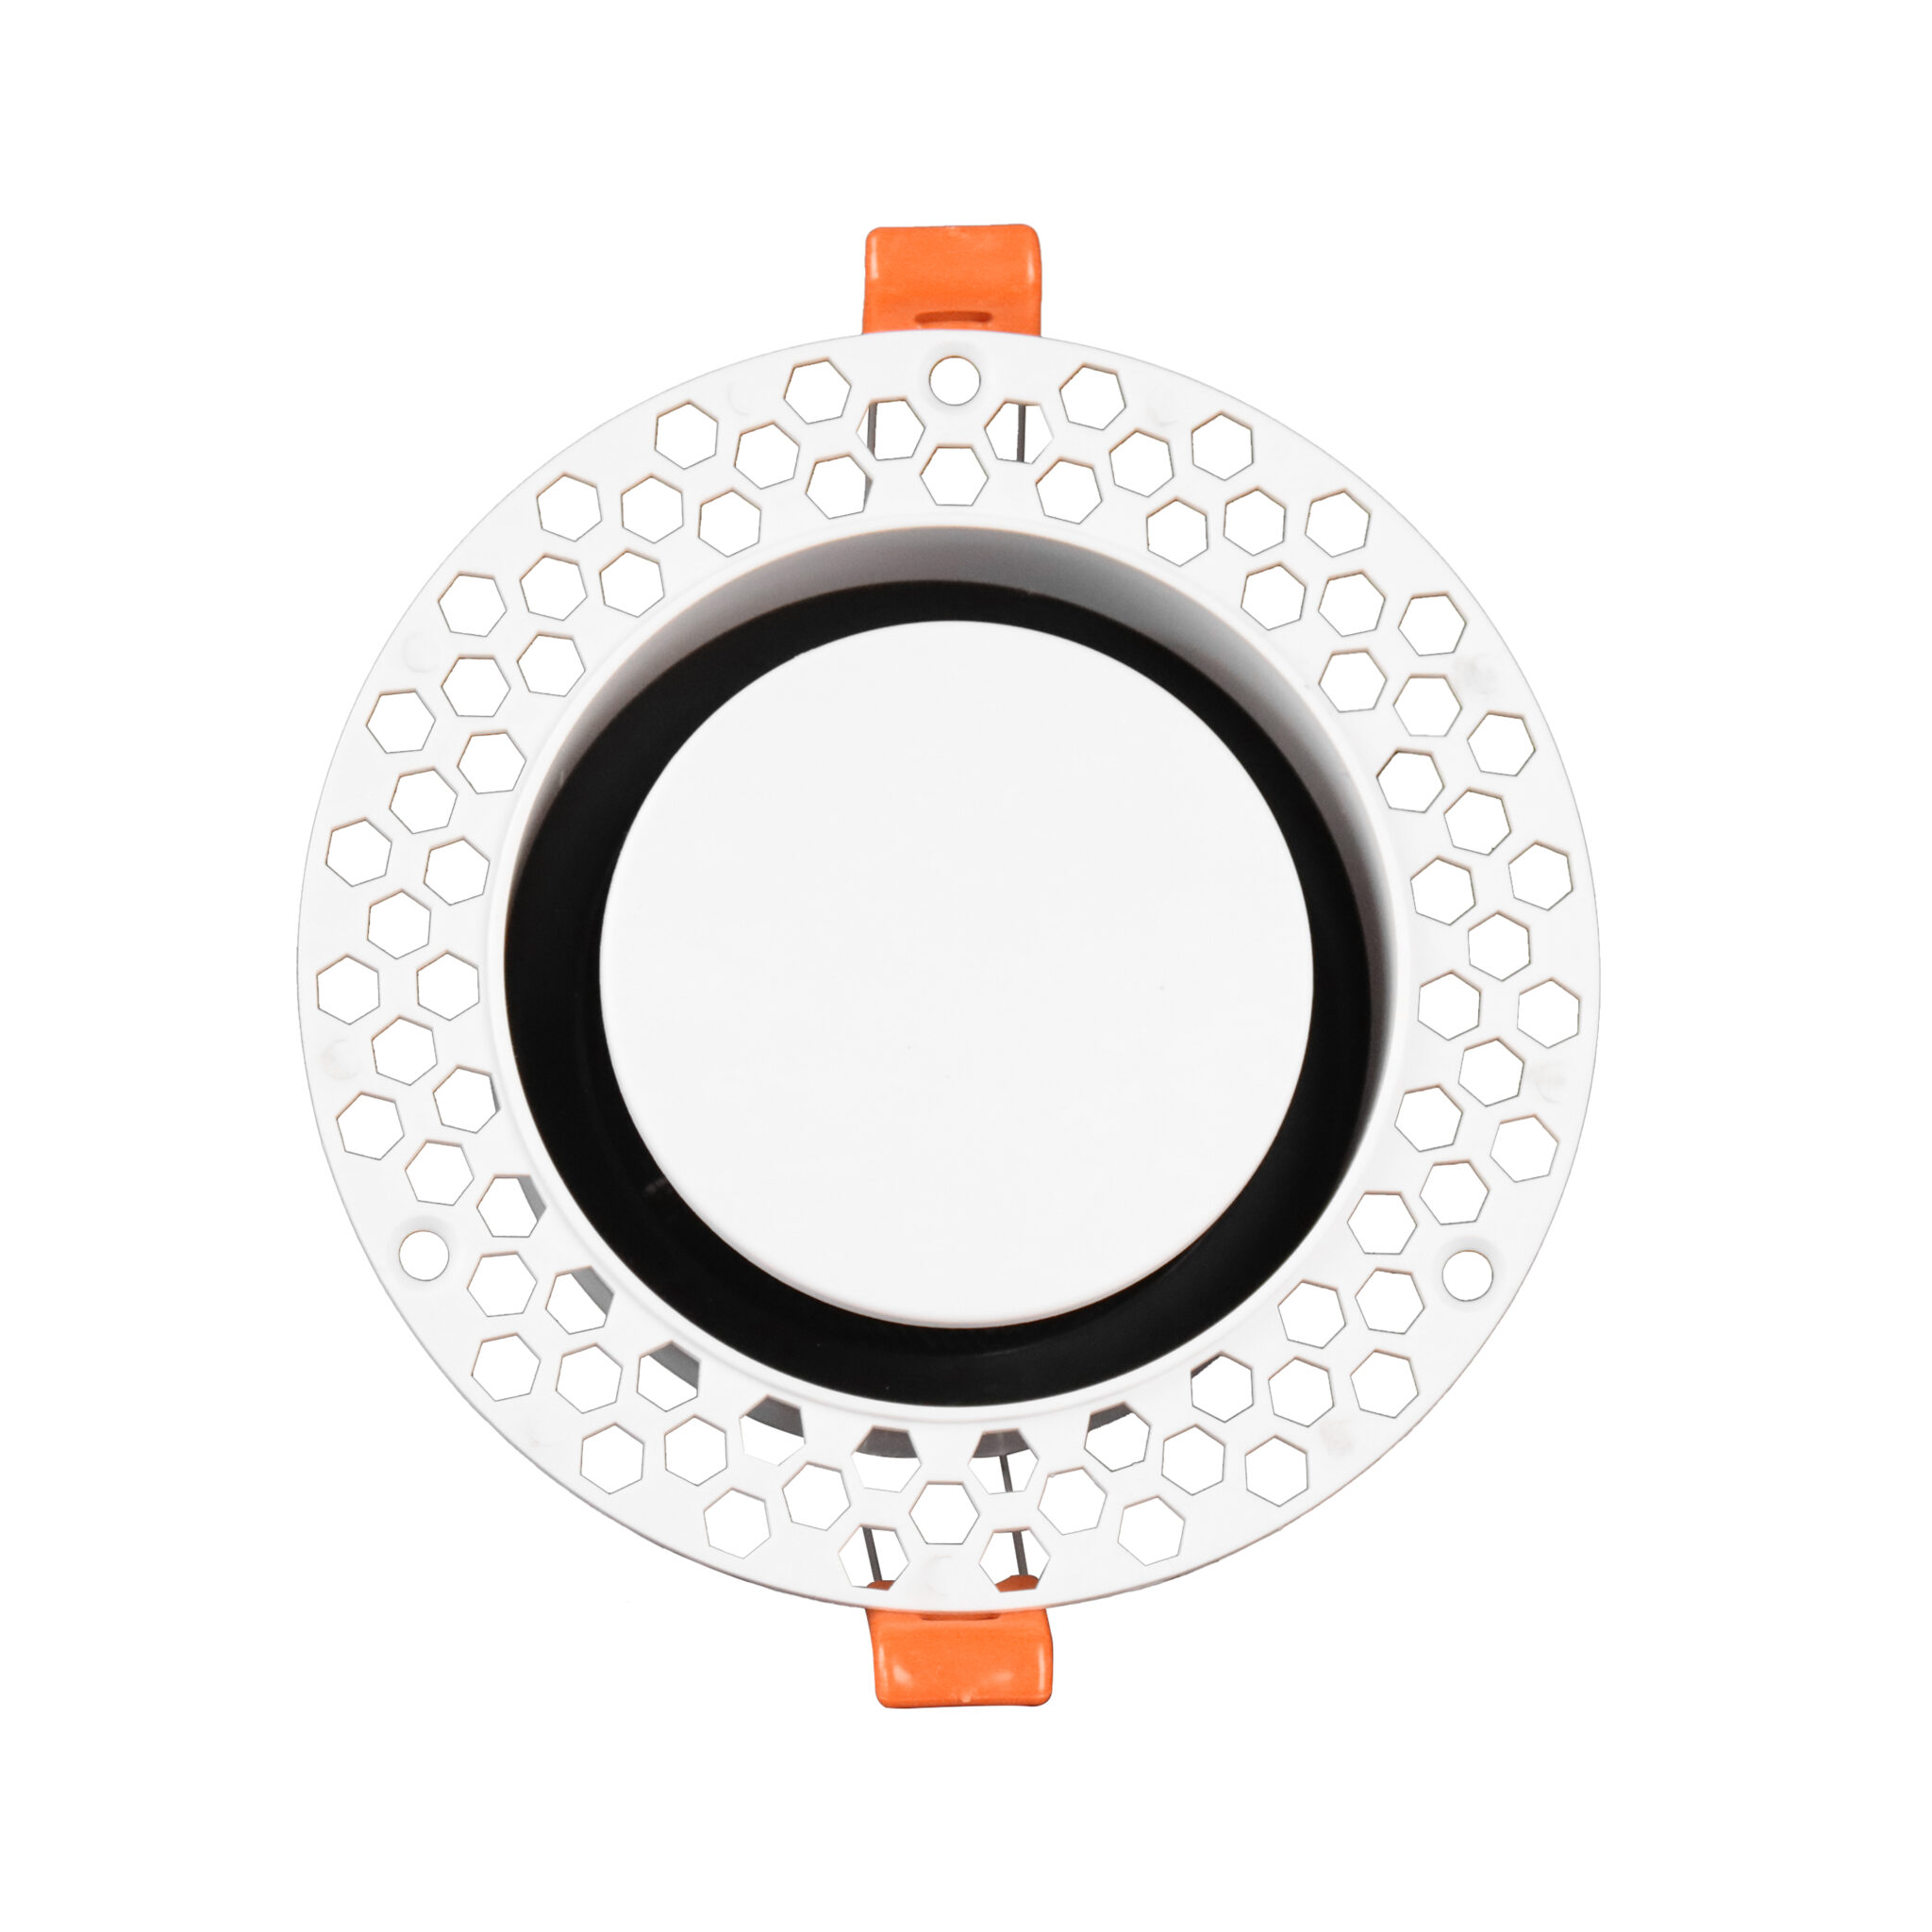
The supplied visual sequence shows the vent inserted into a duct opening, fixed with screws, and integrated with a surrounding finished surface. It also shows s

Quick Answer: Plan a paint-to-match hidden vent in two stages: verify the physical opening and selected nominal option first, then coordinate the visible finish. The supplied material shows duct insertion, screw fixing, a surrounding finished surface, and paint-to-match examples. It does not define one universal installation or coating method.
What does the supplied material actually show?
The supplied visual sequence shows the vent inserted into a duct opening, fixed with screws, and integrated with a surrounding finished surface. It also shows spring clips, an adjustable panel, and a mesh screen as visible product features.
This supports an installation-planning discussion. It does not establish unsupported clearance, structural, airflow, certification, or coating-compatibility requirements.
Why should the opening be checked before the finish?
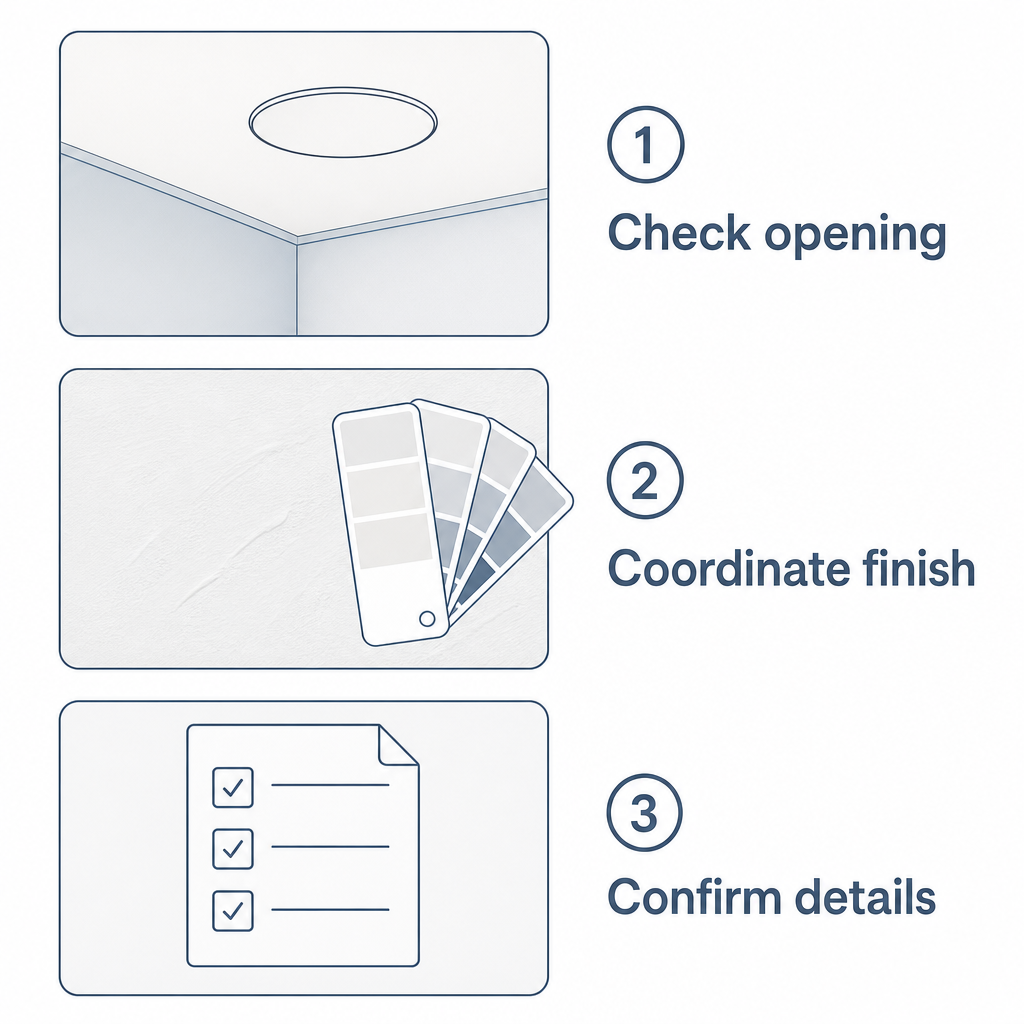
The nominal option should be fixed before the visible surface is finalised. The product page lists Ø75 and Ø100 options, with A/B/C dimensions for each. Compare the selected row with the project drawing, duct connection, opening, and available wall or ceiling space before coordinating the surrounding finish.
Review the published Ø75 and Ø100 configurations and dimensions before the opening is released for final finish work.
How should the visible surface be coordinated?
The product material shows paint-to-match use with paint, wallpaper, and feature-wall surfaces. Use that visual evidence to start a finish discussion with the project team. Confirm the selected finish method with the project material schedule because the product page does not specify a universal paint system.
What information helps a configuration review?
Provide the duct diameter, opening size, installation surface, finish requirement, paired ventilation equipment, and quantity. These inputs help review the selected configuration without turning unlisted performance or certificate details into product claims.
Send the project inputs for a hidden vent configuration review.
FAQ
Can the visible surface be matched to a wall or ceiling?
The supplied product material shows paint-to-match use with wall, ceiling, wallpaper, and feature-wall finishes. Confirm the finish method for the actual project.
What should be checked before installation planning?
Check the nominal option, opening, A/B/C dimensions, installation surface, duct connection, and available space before fixing the selected configuration.
Are certification details included?
No model-range certification has been supplied for this accessory. Do not treat a general certificate as product proof without exact model-scope evidence.
What information helps a quotation review?
Send the duct diameter, opening size, finish requirement, paired equipment, and quantity.
Next step
Open the hidden round duct vent product page for the published product details. Continue with the Ø75 and Ø100 dimension guide or the concealed-versus-exposed finish comparison.
 English
  Русский
  Français
  Deutsch
  Italiano